第四章 模块化管理代码
目录
定义和使用模块
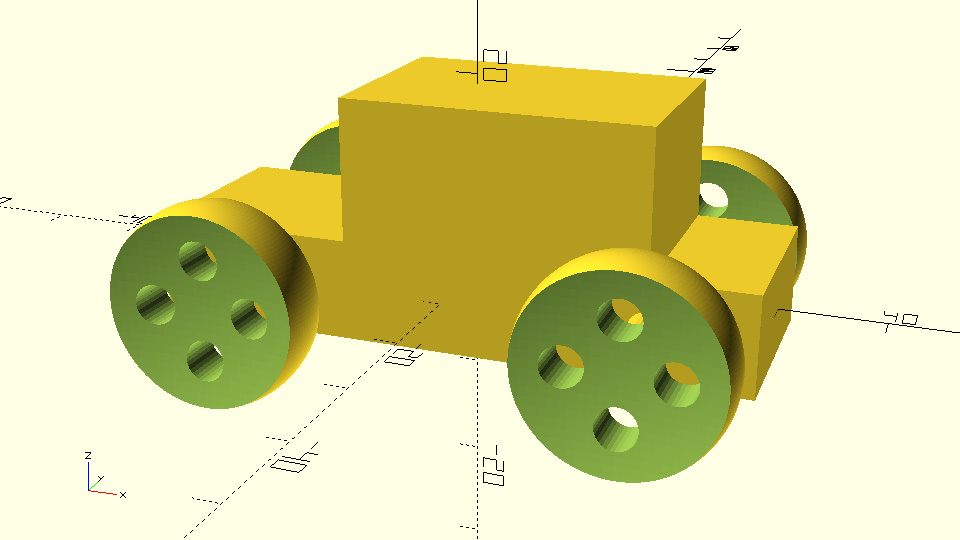
在上一章的最后一个示例中,脚本变得相当冗长。这是由于用更复杂的轮子设计替换了简单的圆柱形轮子(复杂轮子需要多个语句,而简单轮子只需一个语句)。要将简单轮子更换为复杂轮子,您需要找到脚本中所有定义简单轮子的 cylinder 命令,并用定义复杂轮子的命令替换它们。
这种过程与更改轮子直径的过程类似。当未使用变量时,您必须一个一个地找到脚本中的相关值并逐一替换。这种重复且耗时的过程,通过引入 wheel_radius 变量得到了改进,您可以快速轻松地更改轮子的直径。那么,是否有方法改进这种需要完全更改轮子设计的繁琐过程?答案是肯定的!您可以使用 模块(module),它相当于对整个部分或模型应用的变量。
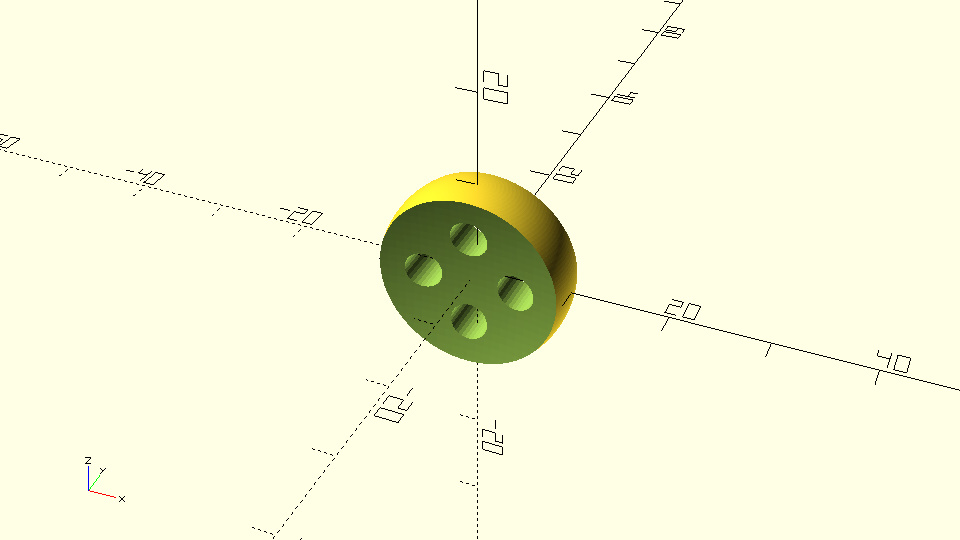
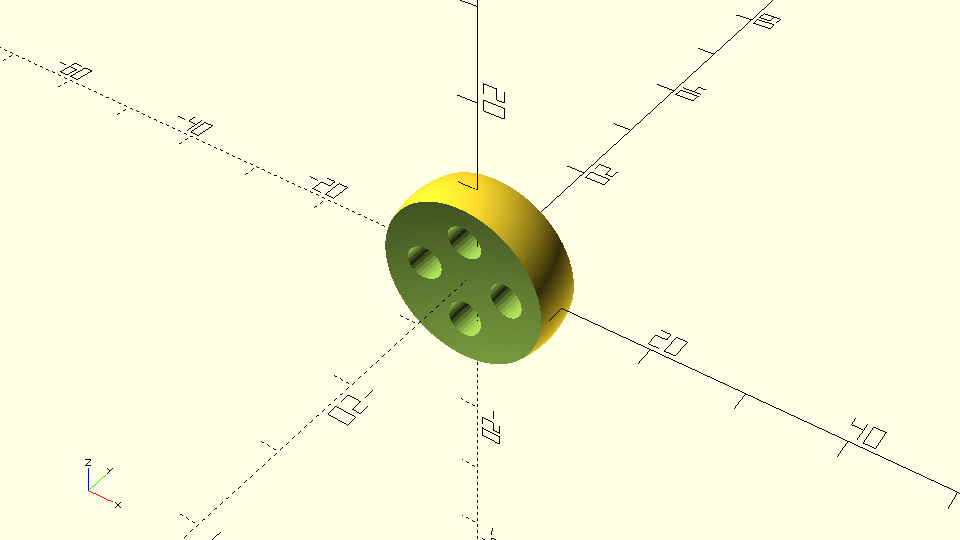
首先,回忆一下复杂轮子的设计:
示例代码
wheel_with_spherical_sides_and_holes.scad$fa = 1; $fs = 0.4; wheel_radius=10; side_spheres_radius=50; hub_thickness=4; cylinder_radius=2; cylinder_height=2*wheel_radius; difference() { sphere(r=wheel_radius); translate([0,side_spheres_radius + hub_thickness/2,0]) sphere(r=side_spheres_radius); translate([0,-(side_spheres_radius + hub_thickness/2),0]) sphere(r=side_spheres_radius); translate([wheel_radius/2,0,0]) rotate([90,0,0]) cylinder(h=cylinder_height,r=cylinder_radius,center=true); translate([0,0,wheel_radius/2]) rotate([90,0,0]) cylinder(h=cylinder_height,r=cylinder_radius,center=true); translate([-wheel_radius/2,0,0]) rotate([90,0,0]) cylinder(h=cylinder_height,r=cylinder_radius,center=true); translate([0,0,-wheel_radius/2]) rotate([90,0,0]) cylinder(h=cylinder_height,r=cylinder_radius,center=true); }
您可以通过以下方式将上述轮子定义为模块:
示例代码
blank_model.scad$fa = 1; $fs = 0.4; module wheel() { wheel_radius=10; side_spheres_radius=50; hub_thickness=4; cylinder_radius=2; cylinder_height=2*wheel_radius; difference() { sphere(r=wheel_radius); translate([0,side_spheres_radius + hub_thickness/2,0]) sphere(r=side_spheres_radius); translate([0,-(side_spheres_radius + hub_thickness/2),0]) sphere(r=side_spheres_radius); translate([wheel_radius/2,0,0]) rotate([90,0,0]) cylinder(h=cylinder_height,r=cylinder_radius,center=true); translate([0,0,wheel_radius/2]) rotate([90,0,0]) cylinder(h=cylinder_height,r=cylinder_radius,center=true); translate([-wheel_radius/2,0,0]) rotate([90,0,0]) cylinder(h=cylinder_height,r=cylinder_radius,center=true); translate([0,0,-wheel_radius/2]) rotate([90,0,0]) cylinder(h=cylinder_height,r=cylinder_radius,center=true); } }
模块定义规则
- 模块语法
- 使用
module关键字定义模块,后接模块名称(如wheel)。- 模块名称后是一对括号(
()),目前括号内为空,因为尚未定义参数。- 括号后是大括号,所有定义对象的命令都放置在大括号内。
- 末尾无需分号。
- 使用模块
- 定义模块后,OpenSCAD 不会自动创建任何对象。
- 要创建轮子,必须添加使用模块的语句,如同创建原始体(例如
cube或sphere)一样。
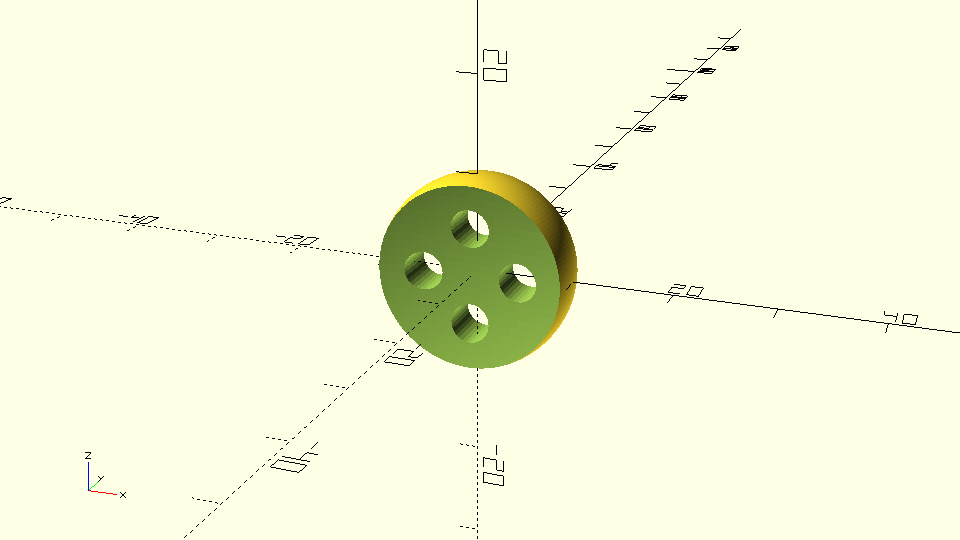
示例代码
wheel_created_by_module.scad$fa = 1; $fs = 0.4; module wheel() { wheel_radius=10; side_spheres_radius=50; hub_thickness=4; cylinder_radius=2; cylinder_height=2*wheel_radius; difference() { sphere(r=wheel_radius); translate([0,side_spheres_radius + hub_thickness/2,0]) sphere(r=side_spheres_radius); translate([0,-(side_spheres_radius + hub_thickness/2),0]) sphere(r=side_spheres_radius); translate([wheel_radius/2,0,0]) rotate([90,0,0]) cylinder(h=cylinder_height,r=cylinder_radius,center=true); translate([0,0,wheel_radius/2]) rotate([90,0,0]) cylinder(h=cylinder_height,r=cylinder_radius,center=true); translate([-wheel_radius/2,0,0]) rotate([90,0,0]) cylinder(h=cylinder_height,r=cylinder_radius,center=true); translate([0,0,-wheel_radius/2]) rotate([90,0,0]) cylinder(h=cylinder_height,r=cylinder_radius,center=true); } } wheel();
定义模块可以看作是扩展 OpenSCAD 脚本语言。定义了轮子模块后,就相当于增加了一个新的原始体。随后,您可以像使用其他原始体一样使用这个模块。
练习
尝试在汽车脚本中定义上述轮子模块,并使用定义的轮子模块创建汽车的轮子。
参数化模块
轮子模块中指定的设计包含许多变量,这些变量可用于自定义轮子设计。为实现不同版本的轮子,需要将轮子模块中定义和使用的变量改为模块的参数:
示例代码
wheel_created_by_parameterized_module.scad$fa = 1; $fs = 0.4; module wheel(wheel_radius, side_spheres_radius, hub_thickness, cylinder_radius) { cylinder_height = 2 * wheel_radius; difference() { sphere(r=wheel_radius); translate([0, side_spheres_radius + hub_thickness/2, 0]) sphere(r=side_spheres_radius); translate([0, -(side_spheres_radius + hub_thickness/2), 0]) sphere(r=side_spheres_radius); translate([wheel_radius/2, 0, 0]) rotate([90, 0, 0]) cylinder(h=cylinder_height, r=cylinder_radius, center=true); translate([0, 0, wheel_radius/2]) rotate([90, 0, 0]) cylinder(h=cylinder_height, r=cylinder_radius, center=true); translate([-wheel_radius/2, 0, 0]) rotate([90, 0, 0]) cylinder(h=cylinder_height, r=cylinder_radius, center=true); translate([0, 0, -wheel_radius/2]) rotate([90, 0, 0]) cylinder(h=cylinder_height, r=cylinder_radius, center=true); } } wheel(wheel_radius=10, side_spheres_radius=50, hub_thickness=4, cylinder_radius=2);
设置模块参数的默认值
您可以为轮子模块的参数设置默认值组合:
示例代码
wheel_with_default_parameters.scad$fa = 1; $fs = 0.4; module wheel(wheel_radius=10, side_spheres_radius=50, hub_thickness=4, cylinder_radius=2) { cylinder_height = 2 * wheel_radius; difference() { sphere(r=wheel_radius); translate([0, side_spheres_radius + hub_thickness/2, 0]) sphere(r=side_spheres_radius); translate([0, -(side_spheres_radius + hub_thickness/2), 0]) sphere(r=side_spheres_radius); translate([wheel_radius/2, 0, 0]) rotate([90, 0, 0]) cylinder(h=cylinder_height, r=cylinder_radius, center=true); translate([0, 0, wheel_radius/2]) rotate([90, 0, 0]) cylinder(h=cylinder_height, r=cylinder_radius, center=true); translate([-wheel_radius/2, 0, 0]) rotate([90, 0, 0]) cylinder(h=cylinder_height, r=cylinder_radius, center=true); translate([0, 0, -wheel_radius/2]) rotate([90, 0, 0]) cylinder(h=cylinder_height, r=cylinder_radius, center=true); } } wheel();
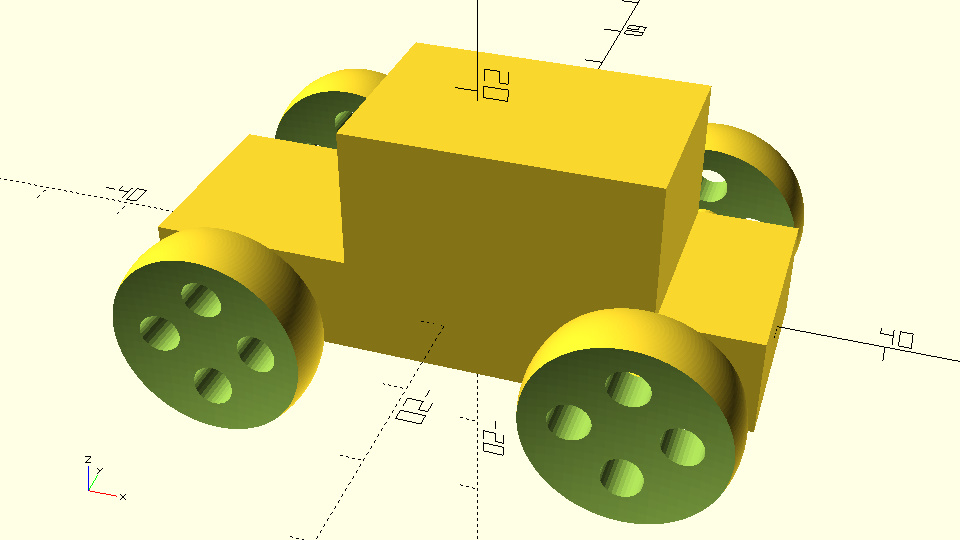
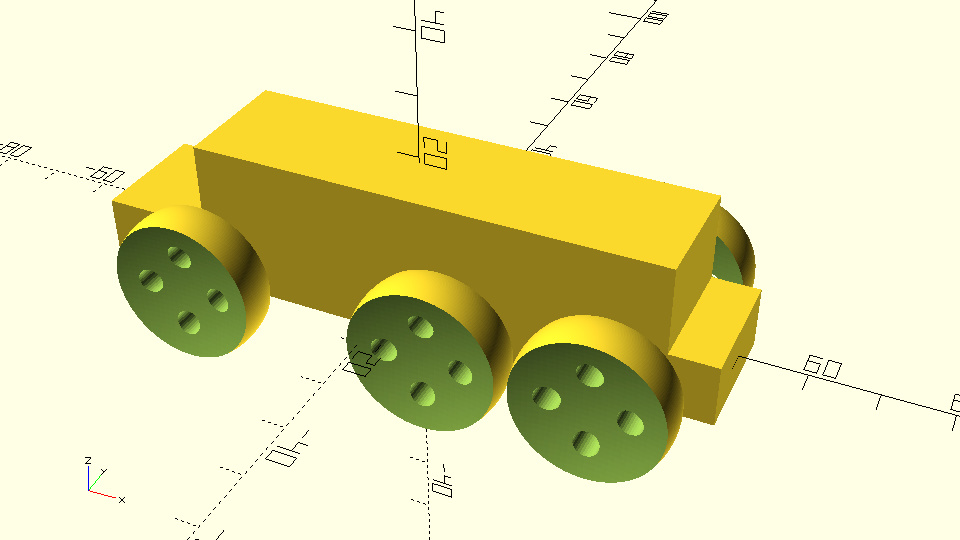
将整个模型分解为模块
您现在可以将汽车进一步分解为车身和车轴模块:


练习创建六轮汽车模型
通过本节内容,您学习了如何使用模块化设计组织复杂模型,同时为模块设置参数和默认值,使模型更灵活、易于扩展。